¶ Using LightBurn (v1.4.0+)
¶ FluidNC Config
First release June, 29 2023.
¶ Controller
Besides power, laser requires a pwm signal to modulate its optical output. This output can be generated via a 5V plugin module on the 6_pack controller.
¶ YAML config file
- Set engine: I2S_STATIC It is the best option for laser engraver, if your board supports it (not all boards do!).
- Add a laser section and define each items as per the following example (you need to figure out gpio correspond to your system). See wiki on laser under Spindles
laser:
  pwm_hz: 2000	#optimal value depends on your laser module
  output_pin: gpio.13:high
  enable_pin: NO_PIN
  disable_with_s0: false
  s0_with_disable: true
  tool_num: 0
  speed_map: 0=0.000% 1000=100.000%
  off_on_alarm: true
In this example tool number 0 is assigned to laser. The pwm frequency for the laser has been set to 2000hz for an Ortur 10W optical power as per manufacturer. Check with your manufacturer to set the proper frequency. It should fall in the 2000 - 5000hz range.
¶ Port and Lightburn configuration
¶ Step 1: ensure COM port is recognized by OS
¶ Windows
It is necessary that your Windows OS recognize your engraver as a serial COM port once connected. Depending on the type of controller board this port may appear in the computer’s device manager with the name “USB-SERIAL CH340” or “USB Serial Device” or something else. Note the port number
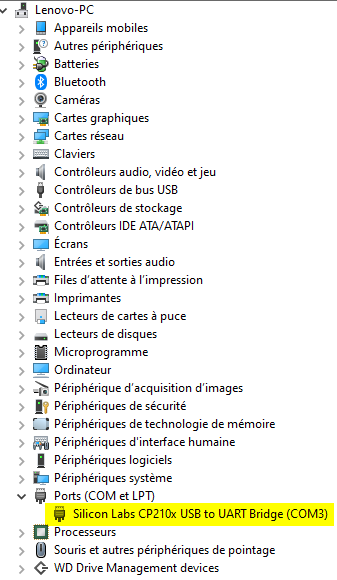
The name with which it appears in the device manager strictly depends on the type of machine.
If no name appears, or if a device with an error symbol appears, you probably need to install a driver. Refer to the manufacturer’s instructions to find out which driver to install. Usually the most common controller board use the CH340 chip.
Google for “arduino CH340G” if your system does not recognize serial port. Sparkfun has a tutorial on updating the CH340 chip on all three OS.
¶ Mac
Please Mac OS user, provide me with usb comm port details and pic.
¶ Linux
Please Linux OS user, provide me with usb comm port details and pic.
¶ Step 2: Lightburn Configuration
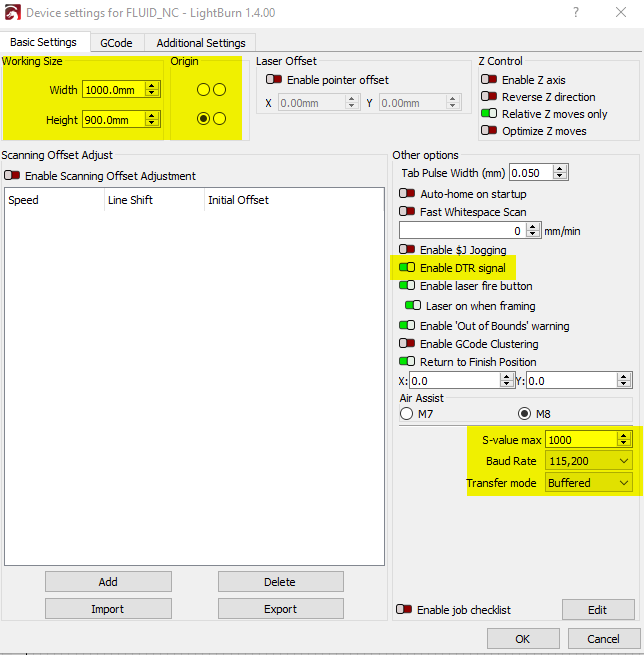
Open Lightburn and go to Menu/Device Settings
1- Set the followings:
- DTR signal to Enable.
- S-value to 1000.
- Baud Rate to 115200.
- Transfer mode to Buffered
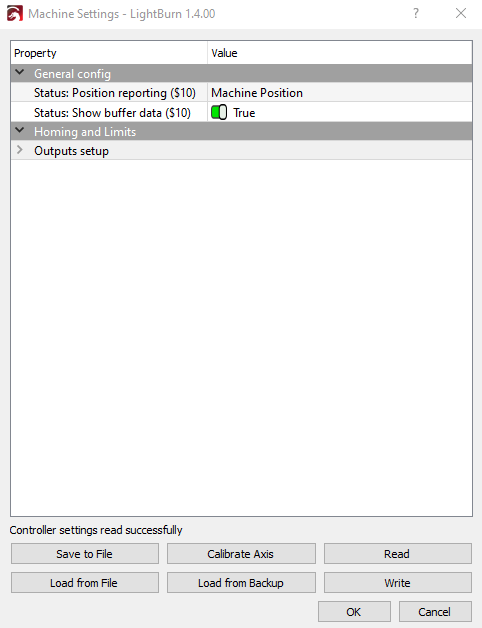
2- Validate that machine position is enable. Open Edit/Machine Settings and validate that Show buffer data is set to True
3- Adding Control Panels
- Go to Menu/Window and check Laser, Move, and Console.
4- Adding FluidNC Controler to Lightburn GRBL list
- Go to Laser Panel and click on Devices this will start the New Device Wizard.
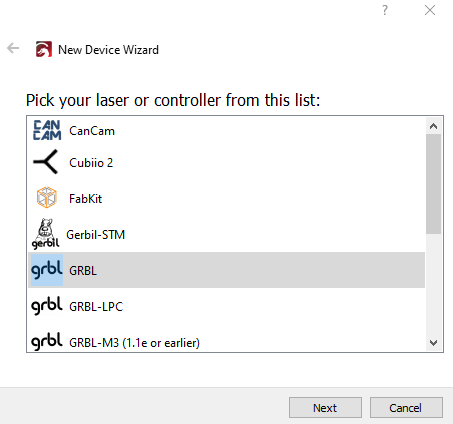
- Click Next and select Serial/USB
- Click next and name it FluidNC or any name that suits you. Enter the dimensions of your work area.
- Click next and enter your laser origin. Leave Auto "Home" to off.
- Click next and your done. The newly added Device details can be modify by clicking Edit in Laser/Devices panel.
5- Connecting
- Connect FluidNC to the USB port on your computer
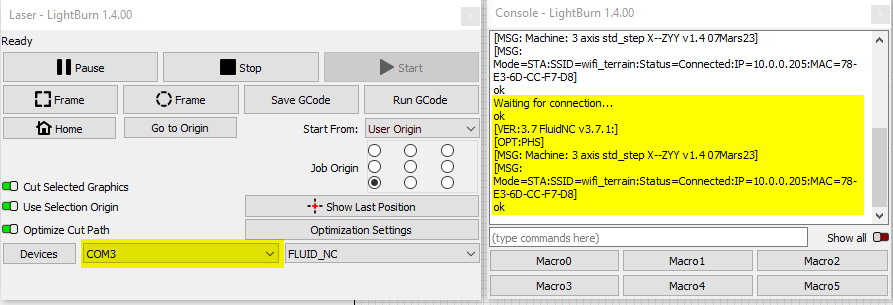
- Go to Laser panel and click on Port combo box (inthe Middle) and select the port connected to your FluidNC device. If connection is succusseful, you should see information about FluidNC version in the Console panel
Tips
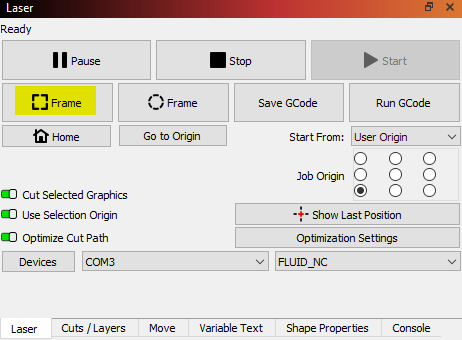
- To minimized wasted time and material: Before starting a job in Lightburn, use the Frame command in the Laser panel. This command walked the laser head around the area covered by the job and you will know if the origin and size is set properly.
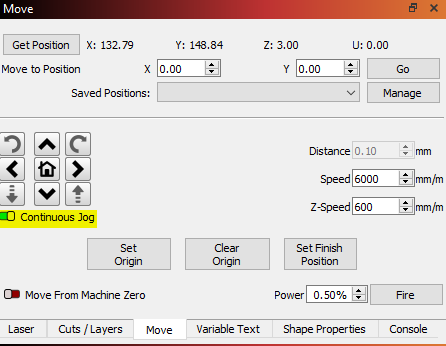
- To use continuous jog go to Move console and enable Continuous Jog.
